
Product mockups are visual representations of your product, helping you visualize and present your design to potential customers and investors. Here's how you can create your own:
1. Choose Your Software
Selecting the right software is crucial for creating effective product mockups. Here's a breakdown of popular options and their key features:
Design Software
- Adobe Photoshop:
- Versatile for photo editing, graphic design, and mockup creation.
- Offers a wide range of tools, filters, and effects.
- Ideal for those with experience in graphic design.
- Adobe Illustrator:
- Primarily used for vector graphics and illustration.
- Perfect for creating clean, scalable mockups, especially for logos and typography.
- Suitable for those with a strong understanding of vector graphics.
- Canva:
- User-friendly online design tool with pre-made templates.
- Offers a drag-and-drop interface, making it easy for beginners.
- Great for creating simple mockups quickly, but may have limitations for complex designs.
3D Modeling Software
- Blender:
- Powerful and free open-source 3D modeling software.
- Offers a wide range of features, including modeling, animation, and rendering.
- Suitable for creating highly detailed and realistic 3D mockups.
- Requires a steeper learning curve compared to other options.
- SketchUp:
- User-friendly 3D modeling software, especially for architectural and product design.
- Offers a simpler interface compared to Blender, making it easier for beginners.
- Good for creating basic 3D models for mockups, but may have limitations for complex designs.
Online Mockup Generators
- Placeit:
- Offers a vast library of pre-made mockup templates for various products.
- Easy to use with a drag-and-drop interface.
- Ideal for quick and simple mockups, but may have limited customization options.
- Smartmockups:
- Provides a wide range of customizable mockup templates.
- Offers a more flexible approach to customization compared to Placeit.
- Suitable for creating professional-looking mockups with a variety of options.
- MockupWorld:
- Similar to Placeit and Smartmockups, offering pre-made templates and customization options.
- Provides a good balance of ease of use and customization.
When choosing software, consider the following factors:
- Your skill level: If you're a beginner, an online mockup generator or a user-friendly software like Canva might be a good starting point.
- The complexity of your product: For simple products, a design software or online generator may suffice. For more complex products, 3D modeling software might be necessary.
- Your budget: While some software is free or has a free trial, others require a subscription or purchase.
2. Gather Your Assets
Before you start creating your mockup, it's essential to have all the necessary assets ready. These assets will form the foundation of your design.
Product Image or 3D Model
- High-quality image: If you have a physical product, take clear, well-lit photos from various angles. Ensure the images are high-resolution to maintain quality in the mockup.
- 3D model: For more complex products or if you don't have a physical sample, consider creating a 3D model using software like Blender or SketchUp. A 3D model allows you to manipulate the product's perspective and lighting.
Background Image
- Complementary background: Choose a background that enhances your product's appearance. For example, a sleek, minimalist background might be suitable for a modern product, while a natural setting could work for an eco-friendly product.
- Realistic environment: If you want to place your product in a specific environment, find a high-quality background image that matches the desired context.
Branding Elements
- Logo: Ensure you have a high-resolution version of your logo in the correct format (e.g., PNG, SVG).
- Typography: Gather the fonts used in your brand's design. If you don't have the exact fonts, consider using similar alternatives.
- Color scheme: Collect the primary and secondary colors used in your brand's palette.
Additional Assets (Optional)
- Textures: If your product has a unique texture (e.g., fabric, wood, metal), find or create textures to add realism to your mockup.
- Reflections: If your product will be reflected in a surface (e.g., glass, water), capture or create a reflection to enhance its appearance.
- Shadows: Consider adding shadows to create depth and realism in your mockup.
3. Select a Mockup Template
Online Mockup Generators
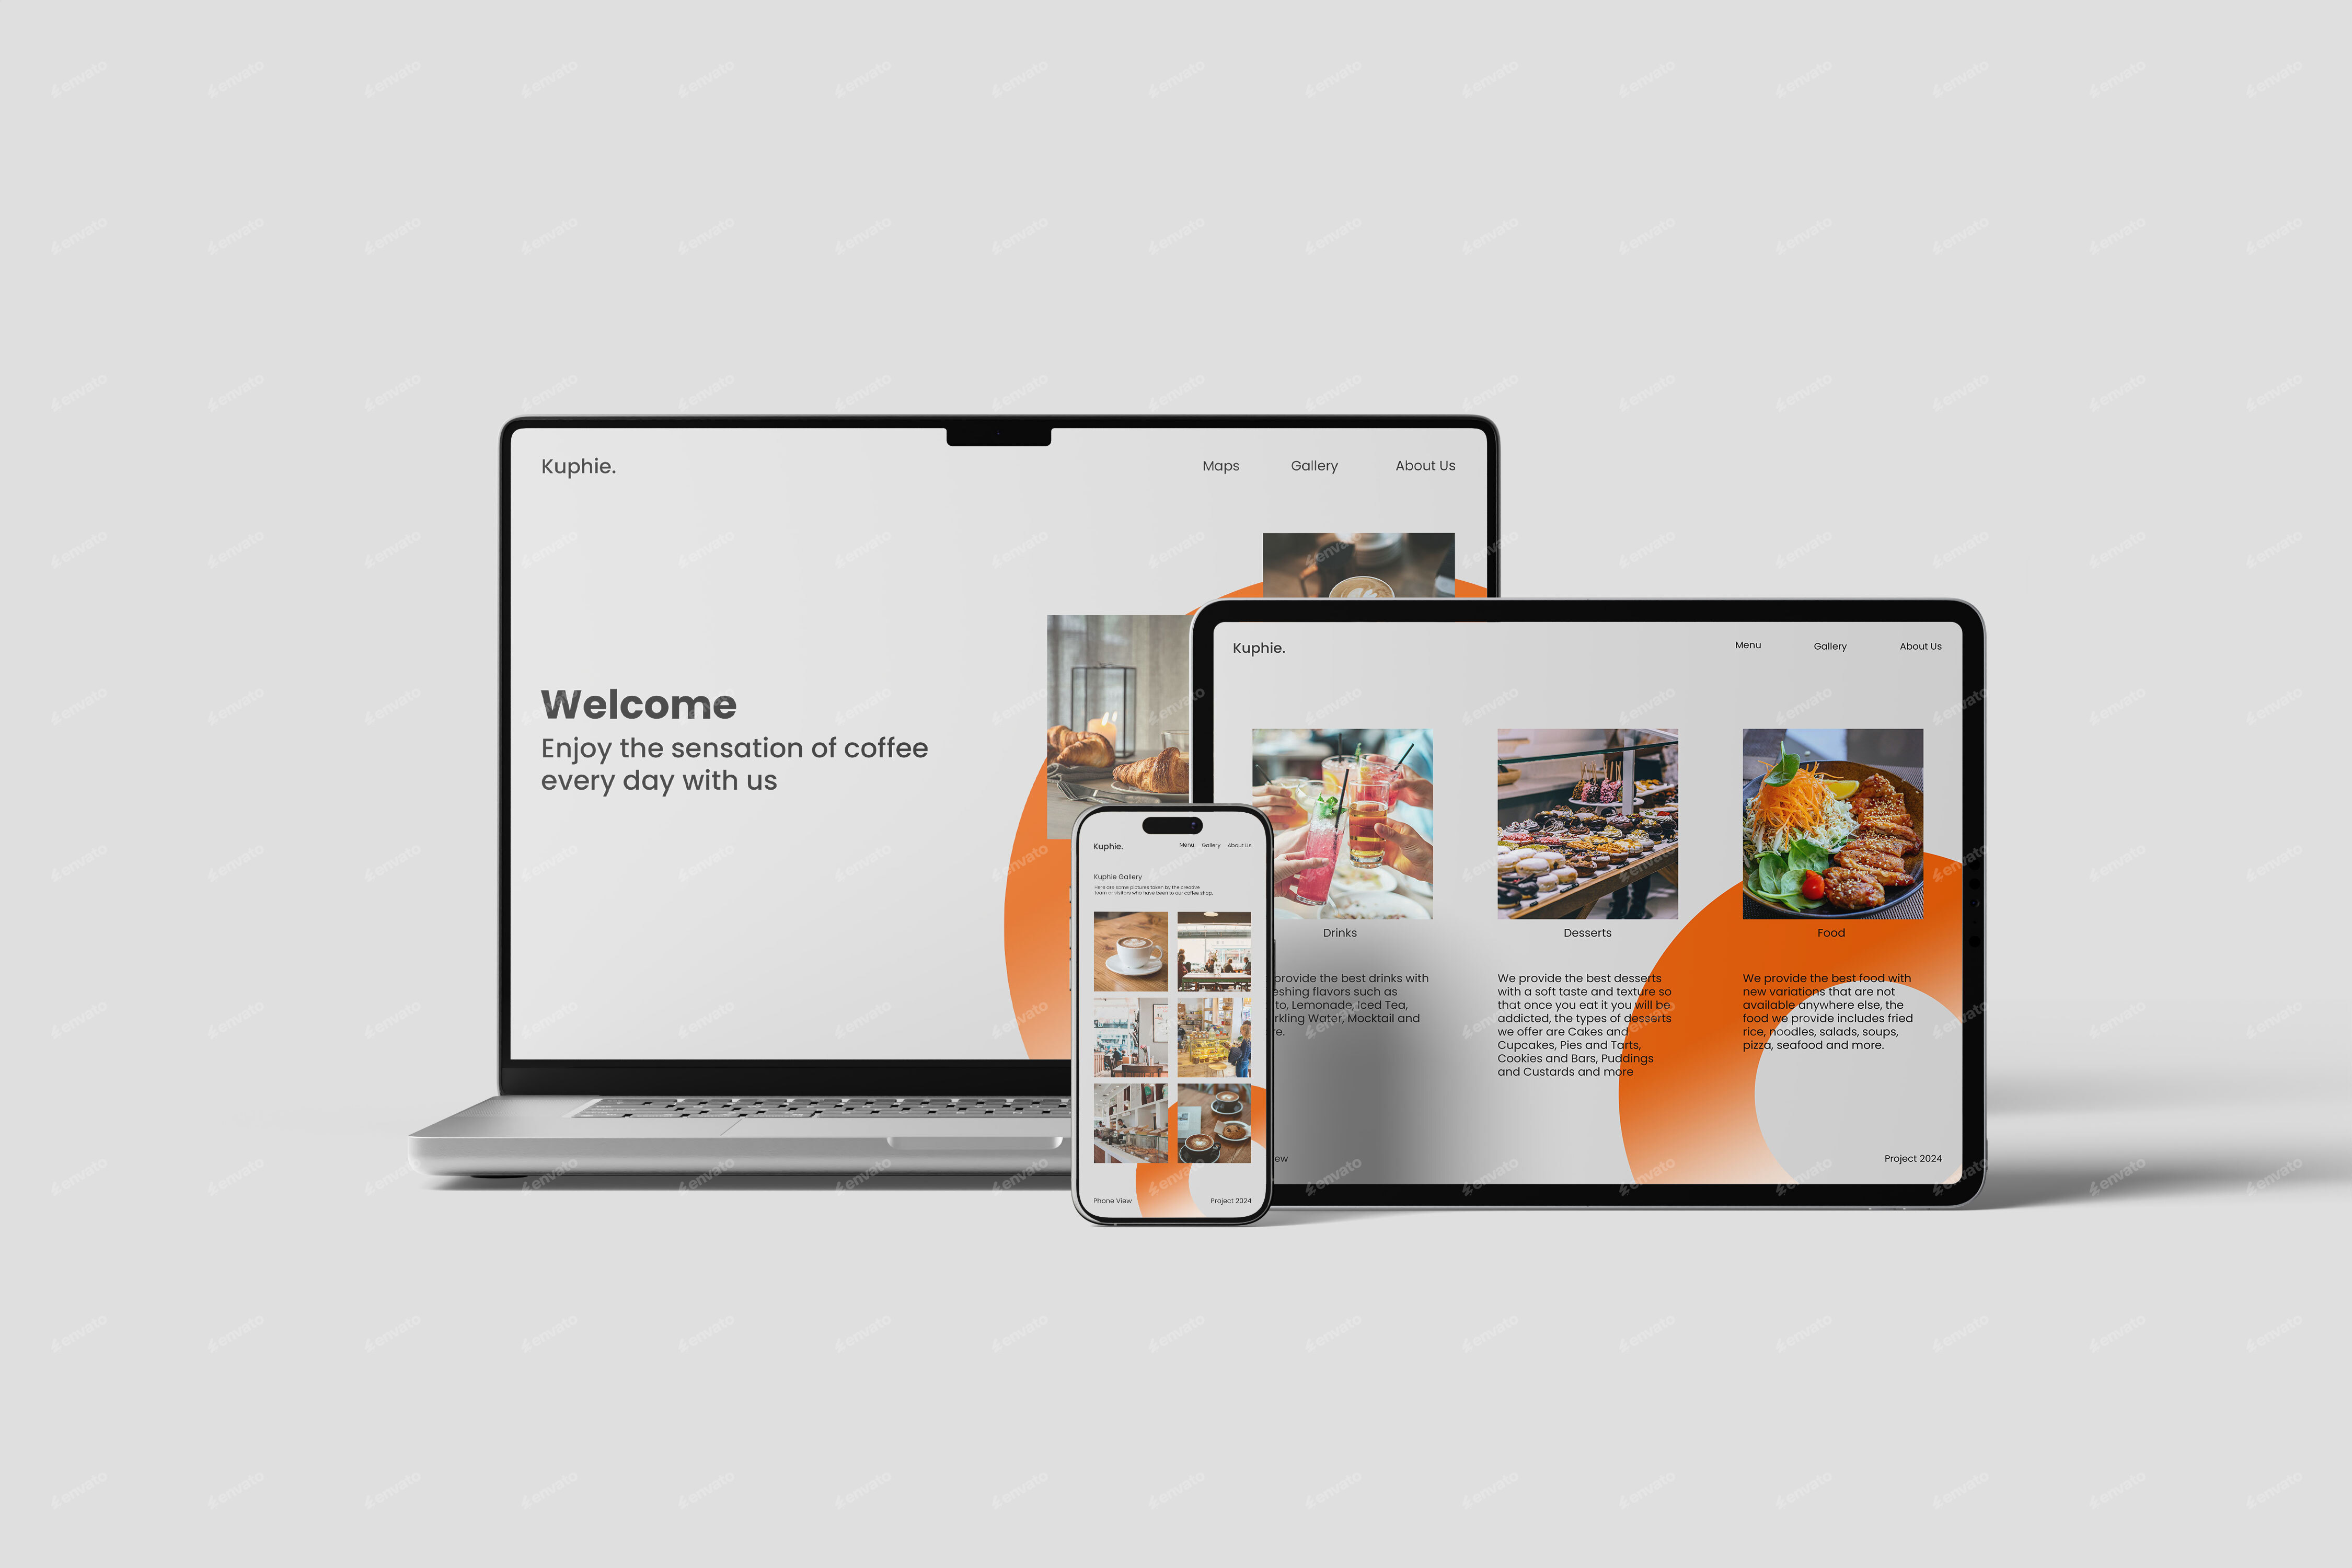
- Placeit: Offers a vast library of pre-made templates for various product types, including smartphones, laptops, packaging, and apparel.
- Smartmockups: Provides a wide range of customizable templates, allowing you to adjust elements like background, lighting, and perspective.
- MockupWorld: Offers a similar selection of templates to Placeit and Smartmockups, with a focus on realistic and high-quality designs.
Custom Templates
- Create from scratch: If you have strong design skills, you can create a custom template from scratch using software like Photoshop or Illustrator. This gives you complete control over every element of the mockup.
- Modify existing templates: You can also start with a pre-made template and customize it to fit your specific needs. This can be a good option if you need something slightly different from the available templates.
When selecting a template, consider the following factors:
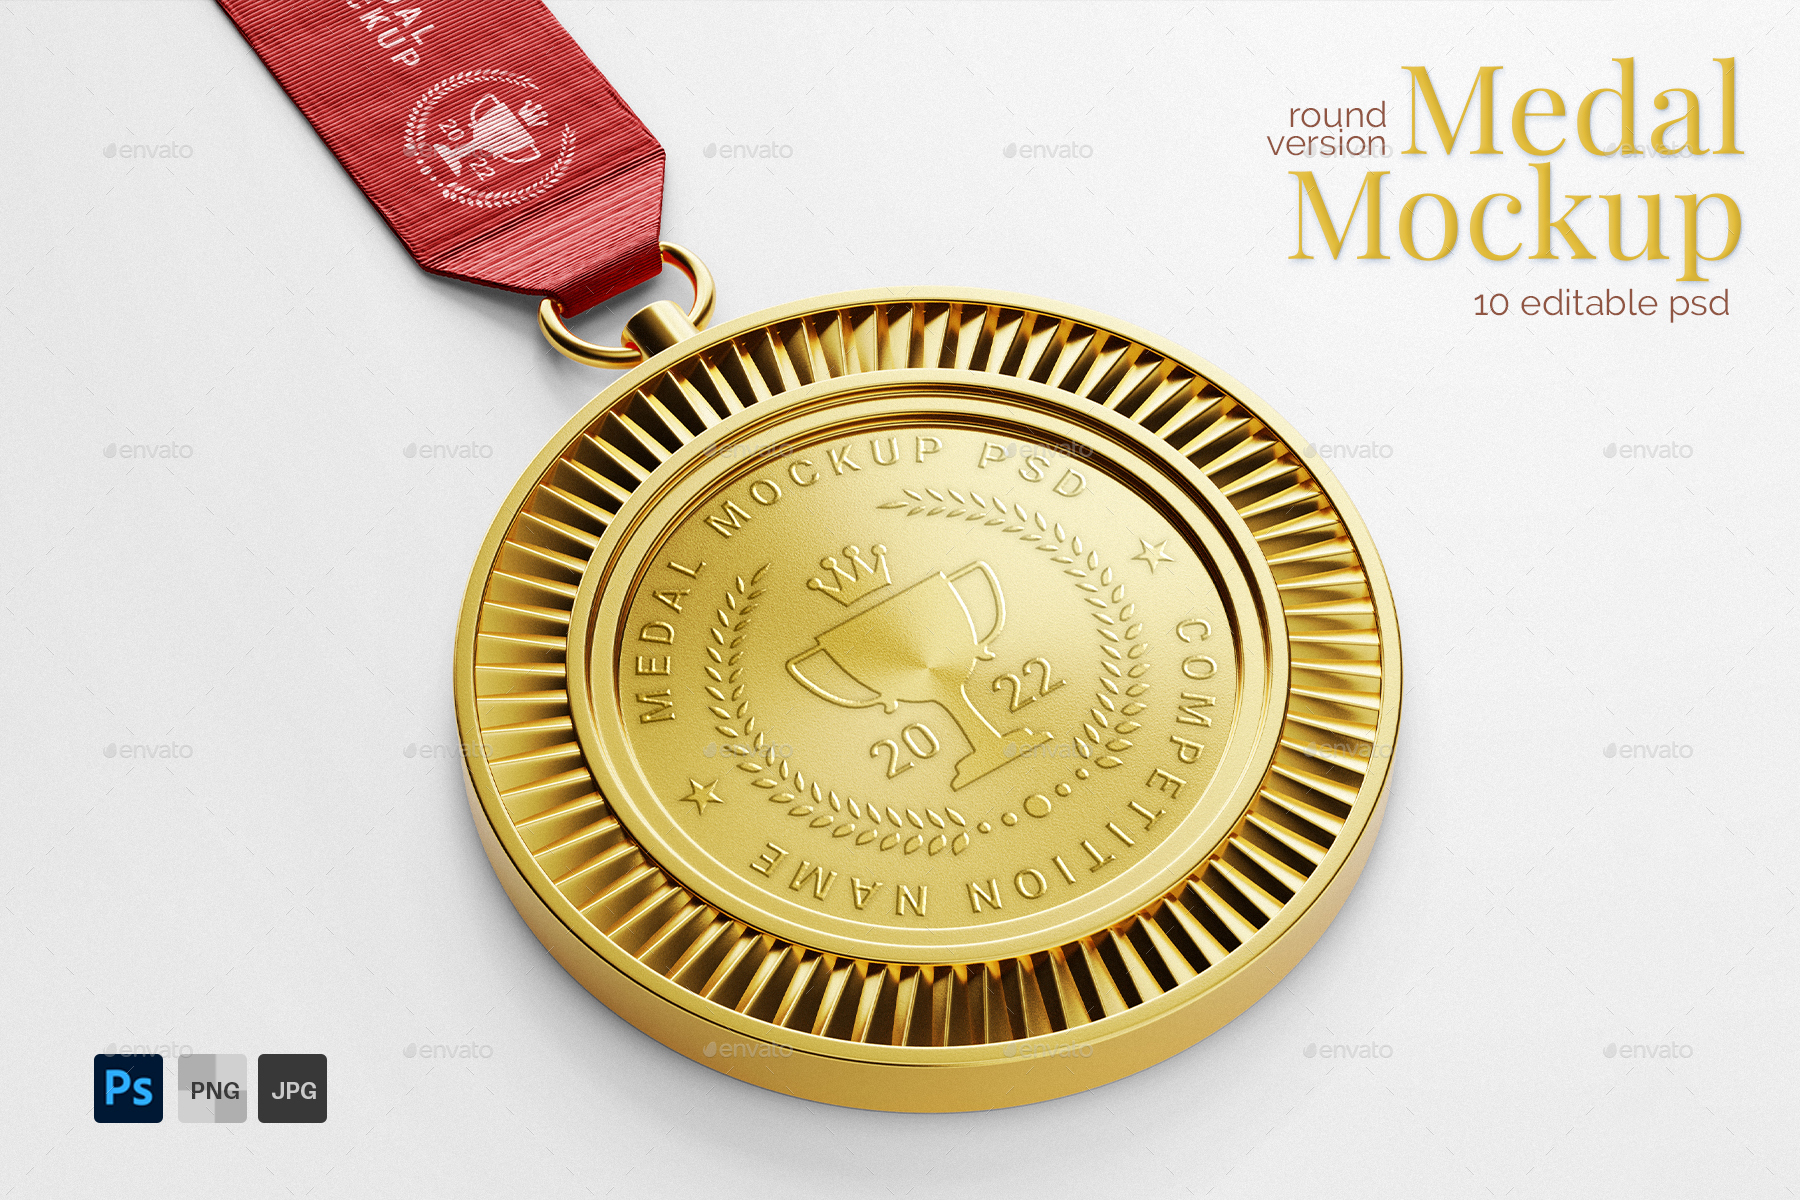
- Product type: Choose a template that matches the shape and size of your product.
- Desired environment: If you have a specific environment in mind, select a template that aligns with that vision.
- Customization options: Look for templates that offer flexibility in terms of background, lighting, and other elements.
- Quality: Ensure the template is high-resolution and has a professional appearance.
4. Place Your Product
Once you've selected a template, it's time to position your product within the scene. This step is crucial for creating a realistic and visually appealing mockup.
Positioning and Sizing
- Drag and drop: Use your design software's tools to drag and drop your product image or 3D model onto the template.
- Adjust size: Ensure the product is scaled appropriately to fit the scene. Avoid making it too large or too small.
- Experiment with angles: Try different angles to find the most visually appealing position for your product. Consider factors like perspective, lighting, and the overall composition of the image.
Realism and Depth
- Shadows: Add shadows to your product to create depth and realism. The shadow's direction and intensity should correspond to the lighting in the scene.
- Reflections: If your product is placed on a reflective surface (e.g., glass, water), add a reflection to enhance its appearance.
- Overlays: Use overlays (e.g., glare, lens flare) to create a more realistic and dynamic effect, especially if your product is exposed to direct sunlight.
Interaction with Environment
- Consider context: If your product is designed to be used in a specific environment, try to position it in a way that reflects its intended purpose. For example, a smartphone could be held in a person's hand, while a piece of furniture could be placed in a living room.
- Create a story: Use the placement of your product to tell a story or convey a message. For instance, a product placed on a beach could evoke feelings of relaxation and vacation.
5. Add Branding Elements
Branding elements help to reinforce your product's identity and create a cohesive visual experience. Incorporating these elements into your mockup is essential for establishing a strong brand presence.
Logo Placement
- Prominent position: Place your logo in a prominent position where it's easily visible. Common locations include the front of the product, packaging, or a nearby surface.
- Size and scale: Ensure the logo is large enough to be easily recognizable but not so large that it overpowers the product.
- Consistency: Maintain consistency with the logo's size, placement, and style throughout your mockup.
Color Scheme
- Brand palette: Use the primary and secondary colors from your brand's palette to create a cohesive look.
- Color harmony: Ensure the colors complement each other and don't clash with the background or other elements in the mockup.
- Accessibility: Consider color accessibility guidelines to ensure your mockup is readable for people with color vision impairments.
Typography
- Brand fonts: Use the fonts specified in your brand guidelines. If you don't have specific fonts, choose alternatives that match your brand's style.
- Font hierarchy: Establish a clear font hierarchy within your mockup, using different font sizes and styles to differentiate between headings, body text, and labels.
- Readability: Ensure the fonts are legible and easy to read, especially at smaller sizes.
Additional Branding Elements
- Taglines or slogans: If your brand has a tagline or slogan, incorporate it into the mockup in a prominent position.
- Patterns or textures: Use patterns or textures associated with your brand to add visual interest and reinforce your identity.
- Brand symbols: If your brand has any unique symbols or icons, include them in the mockup to enhance brand recognition.
6. Adjust Lighting and Shadows
Lighting and shadows play a crucial role in creating depth, realism, and mood in your mockup. By carefully adjusting these elements, you can enhance the visual appeal of your product.
Lighting Direction
- Natural light: Simulate natural light by considering the sun's position and the time of day. Direct sunlight can create strong shadows and highlights, while diffused light can create a softer and more even look.
- Artificial light: If you're using artificial light sources (e.g., lamps, spotlights), consider their direction, intensity, and color temperature. Different light sources can create different moods and atmospheres.
Shadow Creation
- Shadow length and direction: The length and direction of shadows depend on the light source's position and intensity. Use your design software's tools to create realistic shadows that match the lighting conditions.
- Shadow intensity: Adjust the intensity of shadows to create depth and dimension in your mockup. Stronger shadows can make the product appear more three-dimensional, while softer shadows can create a more subtle effect.
- Shadow casting: If your product is casting shadows on other objects in the scene, ensure the shadows are consistent and realistic.
Lighting Effects
- Highlights: Create highlights to accentuate certain areas of your product. Highlights can add a sense of shine, gloss, or texture.
- Reflections: If your product is reflective, add reflections to create a more realistic appearance. Reflections can be influenced by the type of surface, the lighting conditions, and the angle of the viewer.
- Glare or lens flare: For products that are exposed to direct sunlight, consider adding glare or lens flare effects to simulate the way light interacts with the camera lens.
Mood and Atmosphere
- Warm or cool tones: Use warm colors (e.g., red, orange, yellow) to create a warm and inviting atmosphere, while cool colors (e.g., blue, purple, green) can create a more serene or professional mood.
- Contrast: Adjust the contrast between light and shadow to create a dramatic or subtle effect. Higher contrast can make the product stand out, while lower contrast can create a more subdued look.
7. Refine and Export
Once you've completed the previous steps, it's time to review your mockup and prepare it for final use. This involves refining details, exporting the image, and considering additional formats or variations.
Review and Refine
- Check for errors: Carefully review your mockup for any errors, inconsistencies, or typos.
- Assess visual appeal: Ensure the overall composition, color balance, and lighting are visually appealing and consistent with your brand's aesthetic.
- Consider user experience: Make sure the mockup is easy to understand and visually engaging for your target audience.
- Seek feedback: If possible, get feedback from others to identify any areas that could be improved.
Export Options
- Image formats: Common image formats for mockups include JPEG, PNG, and TIFF. JPEG is suitable for web use due to its smaller file size, while PNG offers better quality and transparency. TIFF is ideal for high-resolution prints.
- Resolution: Choose a resolution that is appropriate for your intended use. For web use, 72 DPI is generally sufficient, while for print, 300 DPI is recommended.
- Dimensions: Ensure the exported image is the desired size for your specific application (e.g., social media, website, print).
Additional Considerations
- Variations: Consider creating variations of your mockup with different backgrounds, lighting conditions, or product angles to showcase your product in various scenarios.
- Animated mockups: For more dynamic presentations, explore the possibility of creating animated mockups using tools like Adobe After Effects or video editing software.
- Interactive mockups: If you want to allow users to interact with your product, consider creating interactive mockups using prototyping tools like Figma, Adobe XD, or InVision.
By carefully refining and exporting your mockup, you can create a high-quality and professional visual representation of your product that effectively communicates its value and benefits.
Additional Tips:
- Use high-quality images: Ensure your product image or 3D model is clear and well-lit.
- Pay attention to details: Include realistic elements like reflections, textures, and imperfections.
- Experiment with different angles: Show your product from various perspectives to provide a complete view.
- Consider user experience: Design mockups that are easy to understand and visually appealing.
By following these steps and leveraging the right tools, you can create professional-looking product mockups that effectively showcase your designs.